

Software
I use Adobe Photoshop CC for Mac.Finding An Image
While low-resolution images are still usable to a certain extent, you're much better off using a high-resolution image for your wallpaper. While you are searching for an image, make use of Google Image Search Tools which allows you to specify the image size you'd like Google to display.Edit
For this guide, I will be using a Steve Jobs image to demonstrate how to design a Two-Toned wallpaper (the original wallpaper is available for download at 'Wallpapers 10: Two-Toned'). Also, if at any point you get stuck or cannot find a specific feature, try searching for the feature using Help in the Mac Menu Bar.- Open a new document (Command-N) and paste your image. I usually like to start off by unlocking the Background layer by double clicking the Background layer and choosing "OK" however, this is not necessary. Now that the document is all set up, you can start editing.
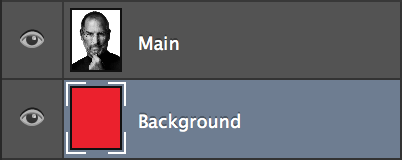
- If the Background layer is unlocked, select it to make it active. Otherwise, create a new layer (Shift-Command-N). Select the Paint Bucket Tool (G) and change the color to #ee1c24. Using the Paint Bucket Tool, fill the new layer. This will be the background; pick a different color if you desire. If the background layer is in front your main layer, drag it behind in the Layers panel. Despite no noticeable change taking effect, this step will help later on.
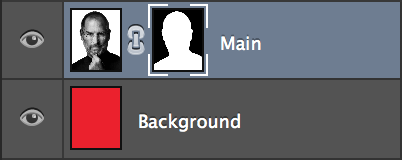
- Select the main layer containing the image and create a layer mask. A layer mask allows you to remove parts of an image by painting over them. Layer masks are preferred because they are non-destructive, meaning any part of the image can be recovered by erasing the painted area. The layer mask will be used to remove the background.

- Hold down the Magic Wand Tool to reveal the Quick Selection Tool (W). Select the Quick Selection Tool. Change the brush size to 5 pixels for precision and begin painting over the background. The Quick Selection Tool will begin selecting parts of the image that are similar. In this case, there is a clear contrast between the subject and the solid white background. This is not the case with complex backgrounds which will require you to trace around the outer edges of your subject. If you accidentally select part of the subject (which will happen), you can hold 'Option' to erase your selection.

- Once the entire image background is selected, make sure the layer mask is active. Switch to the Brush Tool (B), enlarge the brush size to 200 pixels and begin painting over the entire image. You will notice the selected area begin to disappear revealing the underlying layer that you created earlier. This is what a layer mask is useful for.
- If any parts of the background are left behind, repeat the steps above to remove them.
- With the mask layer active, head over to "Select" on you Mac Menu Bar and select "Refine Mask" (Option-Command-R). You can experiment with the different settings until the outer-edges are smooth. I usually keep the Radius within 0.5 - 1.0 pixels and adjust "Smooth" and "Shift Edge" accordingly.
- Next, right-click the Layer Mask thumbnail and select "Apply Layer Mask".
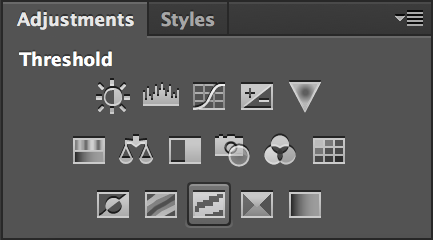
- Now for the magical step. Hide every layer except for the main layer by clicking the eye icon. Under 'Adjustments' select "Threshold". This will give your image the two-toned look. Adjust the threshold using the slider until you are satisfied with the results.
- Right-click on the new Threshold layer and select "Merge Down" (Command-E). Re-enable all layers by re-selecting the eye icon.
- Create another layer (Shift-Command-N) and place it in-between your main and background layer. Select the Paint Bucket Tool (G) and change the color to #efeaaa. Using the Paint Bucket Tool, fill the new layer. This will be the subject color. I will refer to this layer as "tone".
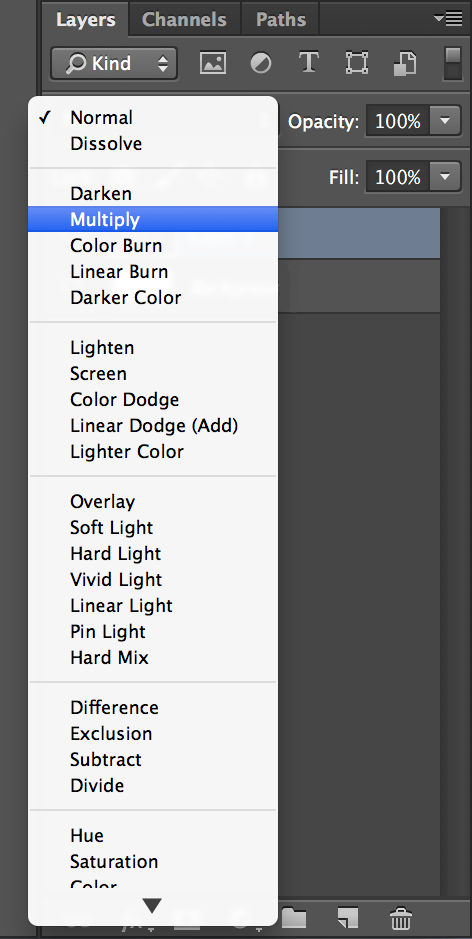
- Click the main image layer to make it active, select the drop-down menu above with "Normal" selected and change it to "Multiply". This is the blending mode which, in this case blends white to any color in the underlying layers.
- Switch the Quick Selection Tool back to the Magic Wand Tool (W) and adjust the tolerance to 90. Select the empty portion of the main layer, switch back to the "tone" layer you created two steps ago and then press "delete" on your keyboard.
- You may notice some of the color leaking outside the subject's outer-edge. This is caused by excessive Mask Refinement but can easily be fixed by using the Eraser Tool (E) to erase the extra color within the "tone" layer.
You can also choose to crop the image to fit your device's screen aspect ratio but, that's all there is to it. I hope that you respect my work as this post is intended for personal use only. If you choose to share your creations, all I ask is that you give me credit if this post helped you create Two-Toned wallpapers. A simple "Design by SUAPP" and providing a link to this blog is all I require.